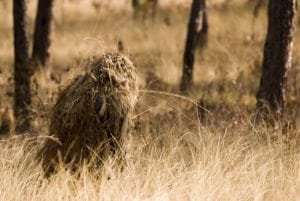
In this guide, we break down how to make a ghillie suit from burlap. Not to be confused with a ghillie shirt (which dates back from before the kilt) that is made for dancing, the ghillie suit is a whole different beast. The ghillie suit also originated in Scotland, where gamekeepers in the highlands developed them as portable hunting blinds.
In the Second Boer War, the Lovat Scouts Scottish Highland Regiment, which fought for the British Army, were the first known soldiers to wear the suit in combat.
What is a ghillie suit?
A ghillie suit is an extreme form of camouflage that is designed to resemble the background environment. The disguise allows the wearer to escape detection by opposing forces. They are also useful in many different hunting situations, or if you play airsoft or paintball to a very competitive level.
There are many different styles of ghillie suit available on the market. You can even make them yourself!
Like anything else, how you construct the suit depends on how much you’re willing to spend. If making your own is a lot more expensive than buying one, the advantage of doing it yourself starts to diminish. Burlap is a great material for making ghillie suits, and it won’t cost you an arm and a leg.
What you will need
First up is the basic suit that will serve as the base. Any one-piece army camouflage suit will do the job. Pick one up second hand, or use one of your old ones that has lost some of its color. The idea is that the surface of the suit will be completely covered by the burlap, so you can use just about any one-piece suit.
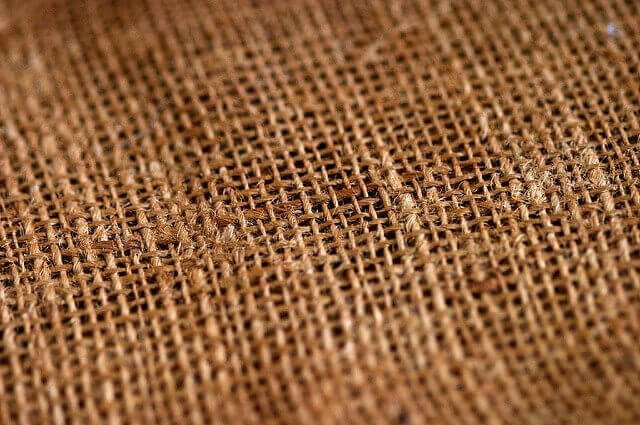
You will also need some burlap, glue (such as Gorilla Glue), netting, and dyes that match your local environment.
Getting started
Place your one-piece suit flat on the ground and cover it entirely with a sheet of netting. Use weights to hold the netting in place so it doesn’t move around while you are working. A few rocks around the edges should work just fine.
Stick it down
Next, take some strong glue and place dabs of it all over the netting so it sticks to the clothing. If you or your wife is decent with needle and thread, put simple stitches all over the suit. This may be time-consuming, but it will ensure the suit lasts longer. It’s a good idea to stitch the points in the suit that are subject to more wear, like the elbows, knees, crotch, and rear.
Once you are happy that the netting will stay in place you can cut around the clothing, leaving an inch or two to spare along the edges. Turn the suit on its back and repeat the process. The front isn’t as important as the back, as you’ll mostly be laying on your front. It’s okay if that side’s a little sloppier, but it doesn’t hurt to do things right.
Pull apart the burlap

Now take your burlap and cut it into strips about a foot in width. Sart removing the longitudinal fibers. You can do it horizontally if you like, but it is important to choose one and stick with it. Continue until it is frayed to within 2 or 3 inches from the center, then go to the other end and repeat the process. The important thing is that the strands of the fibres stay intact and you end up with strands of burlap that are around 10” to 12” long.
Keep going until you have a lot of these. This is going to take some time, so get some friends over and put on some music. Look at the thickness of the strands, the size of the original suit, and the type of ghillie suit you are trying to make. If you want to be mobile go light on the burlap. If you plan on sniping all day, go super heavy. You’ll know when you have enough.
Time to dye
Next you need to dye the burlap strands. Choose your dyes and follow the directions on the package. It’s best to do at least three different colors, but keep them in the same range. The color scheme you choose depends on the environment where the suit is most likely to be used.
Attach the burlap strands
When attaching the strands, go for about ten at a time. Pass them through the netting and attach with a simple half hitch knot. Start at the bottom and work your way up. This is going to take a lot of time, but patience is a virtue. Stick with it!
Don’t forget your head!
The same technique applies to your helmet. Do this part last so you can make it blend in better with the rest of the suit.
Now you are ready! Almost. Every time you use your ghillie suit, you need to spend at least half an hour adding fresh or dried vegetation to the suit to really blend in. No need to wash this gear! You’ll notice that the suit looks better and better over time. Soon enough, your suit will be tuned to the land around you, and no one will even know you’re there; that’s how you make your own ghillie suit using burlap.
Image credit via Flickr Creative Commons: U.S. Army John F. Kennedy Special Warfare Center and School and Jeff E.
